Home |
Epoxy inside
| 1 | |
| 2 | |
| 3 | |
| 4 | |
| 5 | |
| 6 | |
| 7 | |
| 8 | |
| 9 | |
| 10 | |
| 11 | |
| 12 | |
| 13 | |
| 14 | |
| 15 | |
| 16 | |
| 17 | |
| 18 | |
| 19 | |
Last update: May 1 2008
 |
May 1 Trimmed off the excess cloth |
 |
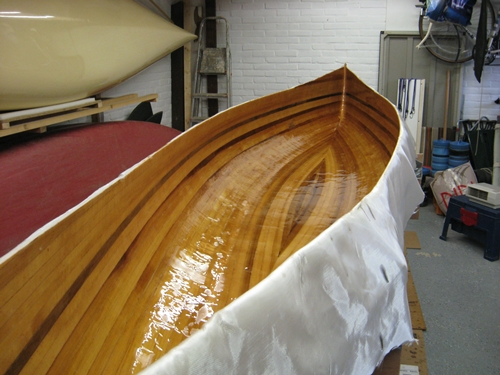
April 30 20.30 Three layers have now been applied. I found the inside more difficult than the outside mainly because you have to stretch further and stand more awarkdly to get at the inside walls. Tomorrow I leave for Germany to go paddling for a few days so there is plenty of time for the epoxy to harden out. |
 |
April 30 13.00 First layer has been applied. Time for lunch. |
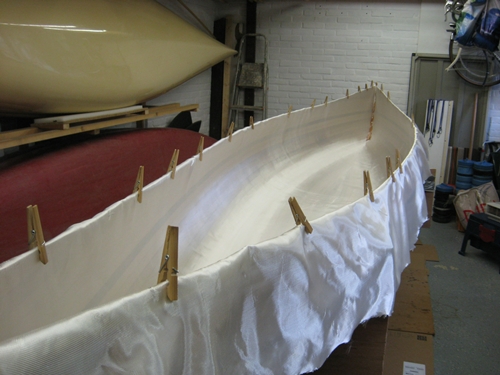 |
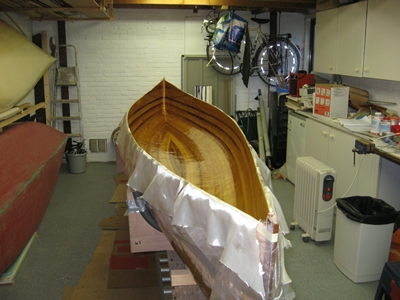
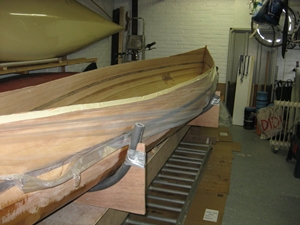
April 30 Finally a day that I feel well and Geoff is at home to help. Last week I had flu and was not able to work on the boat. Last night I left a heater running in the garage. Got up early this morning, layed extension cables to the house and switched on more heaters. Put out the flag ("Koninginnedag") and suprised Geoff by bringing him breakfast in bed. In the meantime the temperature in the garage had reached 23C. We rolled out the fibreglass, cut it at the ends and fitted it onto the boat. |
 |
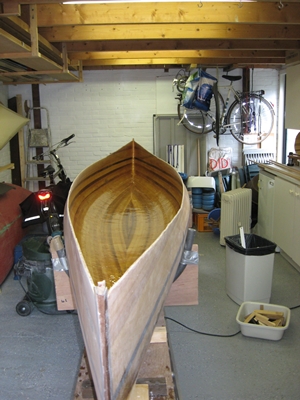
April 29 As I have already sanded some of the epoxy on the outer hull, I placed some foil on the boat to protect from possible drips. |